Beginner’s Guide to Smart Thermostat Installation
Smart thermostat installation is one of the simplest ways to upgrade your home for better energy efficiency and comfort. With just a few tools and basic knowledge, homeowners can easily complete a smart thermostat installation without needing professional help.
In this guide, we’ll walk you through the process step-by-step, helping you understand the benefits, preparation, installation, troubleshooting, and optimization of your smart thermostat system.
What Is a Smart Thermostat?
Before diving into the smart thermostat installation process, it’s important to understand what a smart thermostat is. A smart thermostat is a Wi-Fi-enabled device that allows you to control your home’s heating and cooling remotely through your smartphone, tablet, or voice assistant. Unlike traditional thermostats, smart versions can learn your habits, adjust temperatures automatically, and help reduce energy bills.
Key Features of Smart Thermostats:
- Remote control via app or voice
- Learning your preferences over time
- Scheduling and automation
- Energy usage reports
- Integration with smart home systems (Alexa, Google Home, etc.)
Benefits of Installing a Smart Thermostat
Choosing smart thermostat installation brings many advantages:
- Energy Efficiency: Smart thermostats help optimize heating and cooling, leading to lower energy bills.
- Convenience: Control your HVAC system from anywhere using your phone.
- Customization: Set schedules or use geofencing to automate temperature settings.
- Environmental Impact: Reduced energy consumption helps the environment.
- Increased Home Value: Smart home upgrades make your home more appealing to buyers.
According to the U.S. Department of Energy, homeowners can save up to 10% per year on heating and cooling by using programmable thermostats.
Tools and Preparation Before Installation
Before starting your smart thermostat installation, gather the following tools:
- Screwdriver (usually Phillips head)
- Drill (optional, for wall anchors)
- Level
- Smartphone (for app setup)
- Voltage tester (to ensure safety)
Steps to Prepare:
- Turn off power to your HVAC system at the circuit breaker.
- Remove the faceplate of your old thermostat and take a picture of the wire configuration.
- Check if there’s a C-wire (common wire); most smart thermostats require it.
- Label the wires using the stickers provided in the thermostat kit.
Step-by-Step Smart Thermostat Installation
Follow these steps to complete your smart thermostat installation safely and correctly:
Step 1: Remove the Old Thermostat
Gently disconnect the old thermostat. Unscrew the baseplate and carefully pull out the wires. Make sure wires don’t fall back into the wall.
Step 2: Attach the New Baseplate
Position the new thermostat baseplate using a level. Mark and drill pilot holes if needed. Use wall anchors for secure mounting.
Step 3: Connect the Wires
Insert each labeled wire into the corresponding terminal of the new thermostat. Make sure the connections are tight.
Step 4: Attach the Faceplate
Once wiring is done, snap the faceplate onto the base.
Step 5: Turn Power Back On
Switch the power back on from the breaker. Your thermostat should power up.
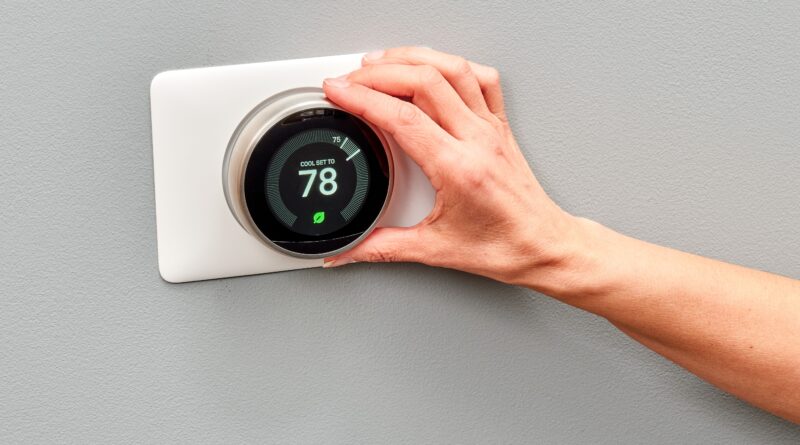
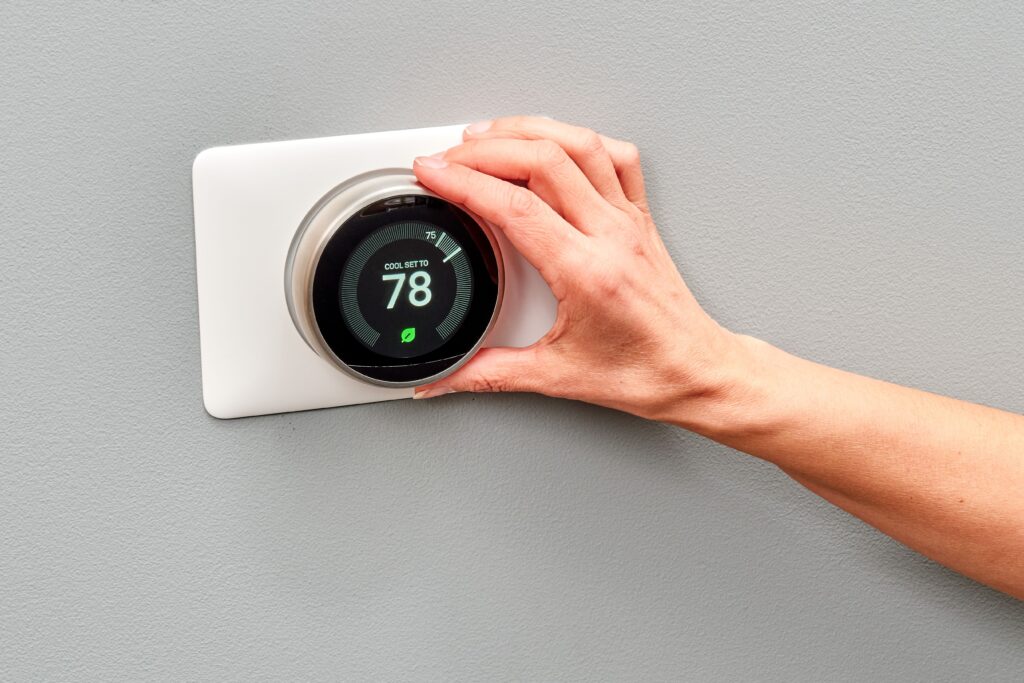
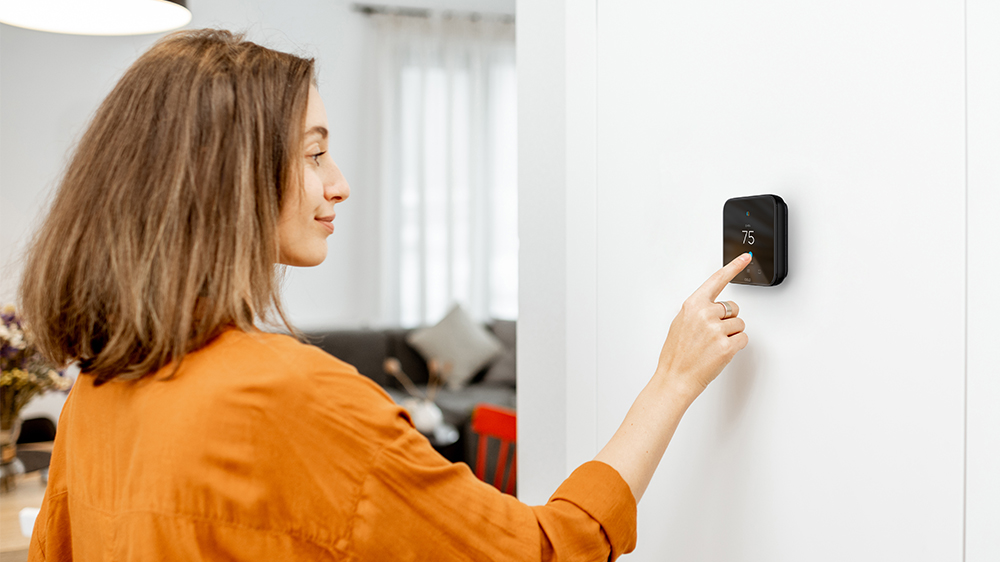
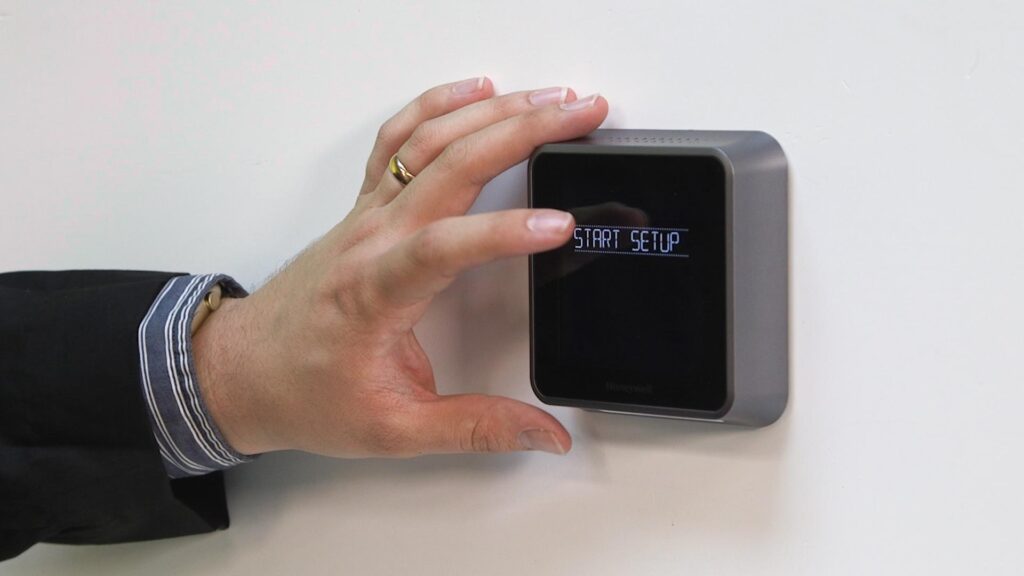
Step 6: Configure the Device
Follow on-screen instructions to connect the thermostat to your Wi-Fi and complete the setup via the mobile app.
For a deeper understanding of how to optimize your smart thermostat installation and make the most out of your energy savings, we highly recommend visiting the official guide by the U.S. Department of Energy. This resource offers practical tips and proven strategies to help homeowners use their smart thermostats more efficiently.
Troubleshooting Common Issues
If you encounter problems during smart thermostat installation, consider these solutions:
- Thermostat doesn’t power on: Ensure wires are correctly connected and power is restored.
- No C-wire: Some smart thermostats come with a power extender kit (PEK) or offer battery alternatives.
- Wi-Fi connection issues: Check your network settings and bring the router closer temporarily.
- Incorrect wiring error: Double-check your wire labels and match them with the terminal guide provided.
- Incompatible HVAC system: Some older systems may not support smart thermostats. Check manufacturer compatibility lists before buying.
Tips for Optimizing Your Smart Thermostat
After completing your smart thermostat installation, follow these tips to maximize performance:
1. Enable Learning Features
Let the thermostat learn your routine. It will adjust temperatures automatically for comfort and efficiency.
2. Set Schedules
Create schedules to match your daily activities. For example, reduce heating/cooling during work hours.
3. Use Geofencing
Some thermostats detect when you leave or approach home, adjusting settings accordingly.
4. Monitor Energy Reports
Track your energy usage through the app to find patterns and improve efficiency.
5. Integrate with Smart Home Devices
Pair your thermostat with smart speakers or other automation systems for voice control and enhanced functionality.
Smart Thermostat Installation Safety Tips
While most smart thermostat installations are safe and straightforward, safety should always be a priority:
- Always turn off power at the breaker box before touching any wiring.
- Use a voltage tester to confirm the circuit is dead.
- Follow the manufacturer’s wiring diagram exactly.
- Don’t force wires into terminals; they should fit securely without excessive pressure.
- If you’re unsure about any step, consult a licensed HVAC technician.
Proper safety practices protect both you and your home from potential electrical hazards and system damage.
Final Thoughts on Smart Thermostat Installation
Performing your own smart thermostat installation may seem daunting, but with the right tools and preparation, it’s a manageable DIY project. Whether you’re looking to save money, improve comfort, or take your home automation to the next level, upgrading to a smart thermostat is a smart decision.
By following this beginner-friendly guide, you’ll have your new system up and running in no time. Remember, always consult your thermostat’s manual and follow safety guidelines. For more complex HVAC setups, don’t hesitate to call a professional.
Key Takeaways:
- Smart thermostat installation improves energy efficiency and convenience.
- Proper preparation ensures a smooth and safe installation.
- Troubleshooting and optimization are key to long-term success.
- You don’t need to be a tech expert to upgrade your home’s thermostat system.
Whether you’re tech-savvy or a total beginner, embracing smart technology through smart thermostat installation is a step toward a more efficient and comfortable living space.
If you’re exploring smart thermostat installation and want to take your smart home setup even further, don’t miss our detailed guide on how to build a complete smart home system. It’s the perfect next step to enhance comfort, energy efficiency, and automation in your living space.